


Hand embroidery is a beautiful craft that anyone can enjoy. It's been around for centuries and provides people with an opportunity to create beautiful embroidered art pieces. If you're interested in learning how to embroider or want to get started, then this blog post is for you! In it, we'll cover the basics of hand embroidery and some essential things you need to know before getting started.
What You Need for Hand Embroidery
- Fabric: Choose light-colored quilting cotton or evenweave fabric, such as linen, for your first project. A 1/4 yard will be enough for many projects if purchased by the yard. Even though it's sold with embroidery floss, avoid using Aida cloth; it's best for cross stitch patterns.
- Embroidery floss: Select a handful of colors of cotton embroidery floss. Cotton embroidery floss is available in several sizes. For your first project, select embroidery floss with six strands and a size of 18 or higher. Floss intended for craft projects should be avoided since it will be challenging to work with.
- Embroidery hoop: Embroidery hoops come in various designs, but all you need to get started is a basic wooden or plastic hoop. For a range of tasks, a 6-inch hoop will be enough.
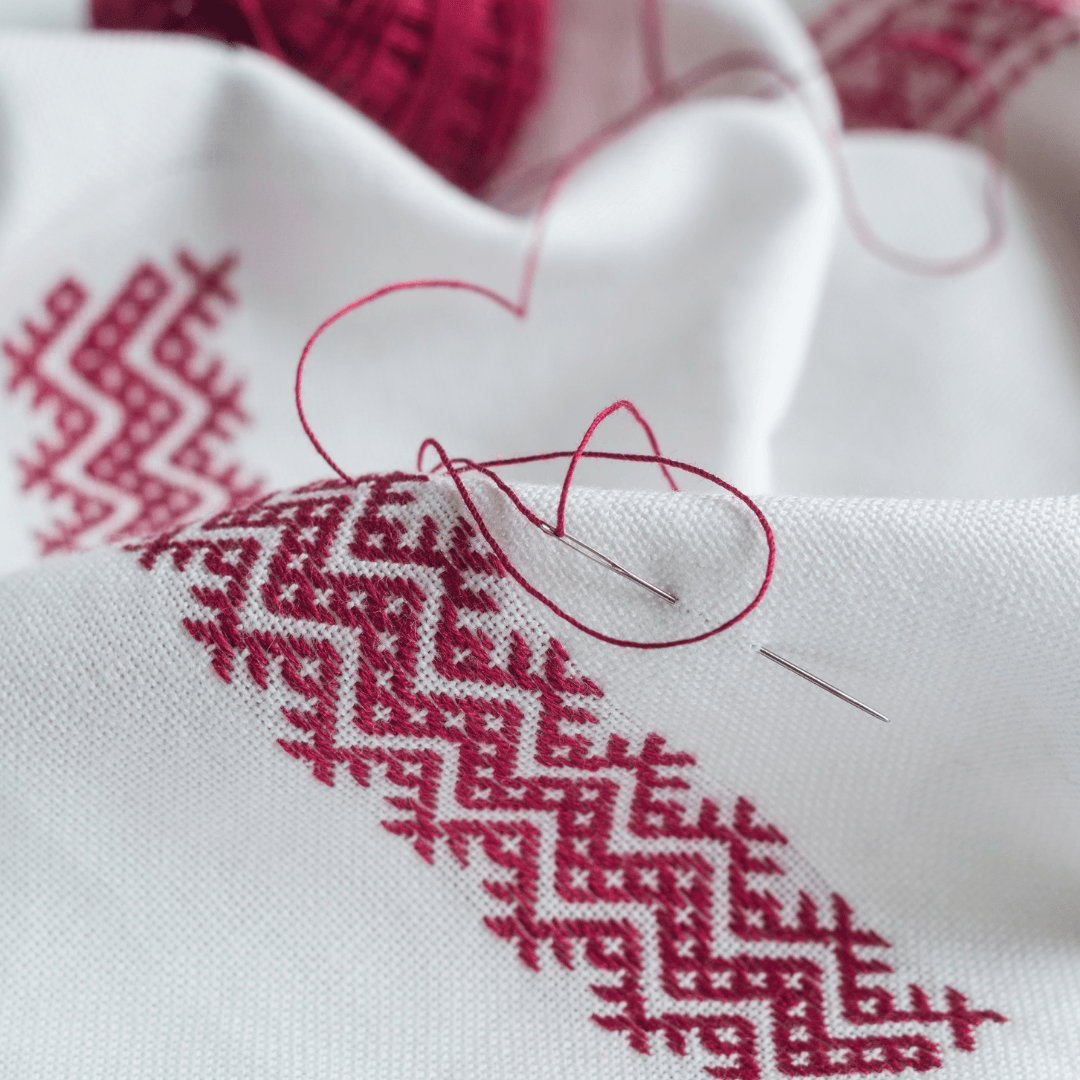
- Needles: There are several varieties of embroidery needles available, much as there are numerous sorts of hoops. Any sharp needle with a large enough eye to thread embroidery floss through will do. A pack of various sizes of pointed needles designed explicitly for stitching is the most convenient option.
- Water-soluble pen: Several methods transfer a pattern to your fabric, but tracing is the most basic. A regular pencil will suffice, but use a water-soluble pen to ensure that you don't leave any stray markings.
- Scissors: Scissors for various embroidery activities are available, but you may use any scissors you have on hand. Just be sure they will cut the floss cleanly and that the end isn't frayed.
Selecting Hand Embroidery Stitches
When embroidering, the embroidery stitches you choose will determine how your stitched piece turns out. However, it's best to start simple and practice with different stitches before advancing onto more complex ones.
Running stitch: The running or straight stitch is basic embroidery that can be used on almost any surface while producing a simple embroidered line.
Chain stitch: The chain stitch can be used to make a simple outline, or it may take the form of an embroidery floss braid and other embroidery stitches. You'll need two hands for this embroidery technique; one hand will hold your fabric while the other pulls and loops your embroidery floss.
Buttonhole stitch: If you embroider a line of stitches on top of each other, you can create an embroidered area that looks like small boxes or diamonds instead of lines.
Split stitch: The split stitch is used to outline shapes and fill areas with thread embroidery; it's also perfect for embroidering on uneven surfaces.
Lazy daisy stitch: The lazy daisy stitch can embroider flowers and leaves; it's also a basic embroidery that beginners should practice since it's easy to create an even line of stitches using this simple embroidery technique.
French knot: French knots are embroidery stitches most often used for embroidered dots on your piece.
Bullion stitch: The bullion or coil stitch is an embroidery technique similar to the French knot, but it involves wrapping embroidery floss around a needle multiple times before pulling through the fabric.
Straight stitch: This straightforward technique is so basic that you probably already know how to do it without even learning it. As you embroider, you'll make a lot of short straight lines, whether you're embroidering letters or geometric shapes. It's also very easy to create twirls, swirls and curls with the straight stitch.
Backstitch: For any outlining, backstitching is the way to go. Make each stitch the same length, and you'll have something that looks fantastic!
Whatever stitch you choose to embroider first, you'll be on your way to creating beautiful embroidered pieces that are sure to draw compliments.
Finishing Tips for Hand Embroidery
When you're done stitching, your embroidery must be rinsed or soaked to remove stains. This also aids in the removal of creases. When it comes out of the water, use a towel to press away any extra moisture gently. Then iron the embroidery from the back using an iron on a foldable towel.
Start Your Hand Embroidery Journey
You're now ready to get stitching! With a bit of practice, you'll feel more comfortable and confident as you progress from simple designs to more complicated projects. Happy stitching!